Showing posts with label #Giftofgiving. Show all posts

Sunday, 16 April 2017

Crazy Crafter's Blog Hop with Billie Moan

 Welcome back crafty people :)


Today the Crazy Crafter's are hopping with the talented Billie Moan
We are all choosing a project of Billie's to CASE, Copy And Selective Edit.
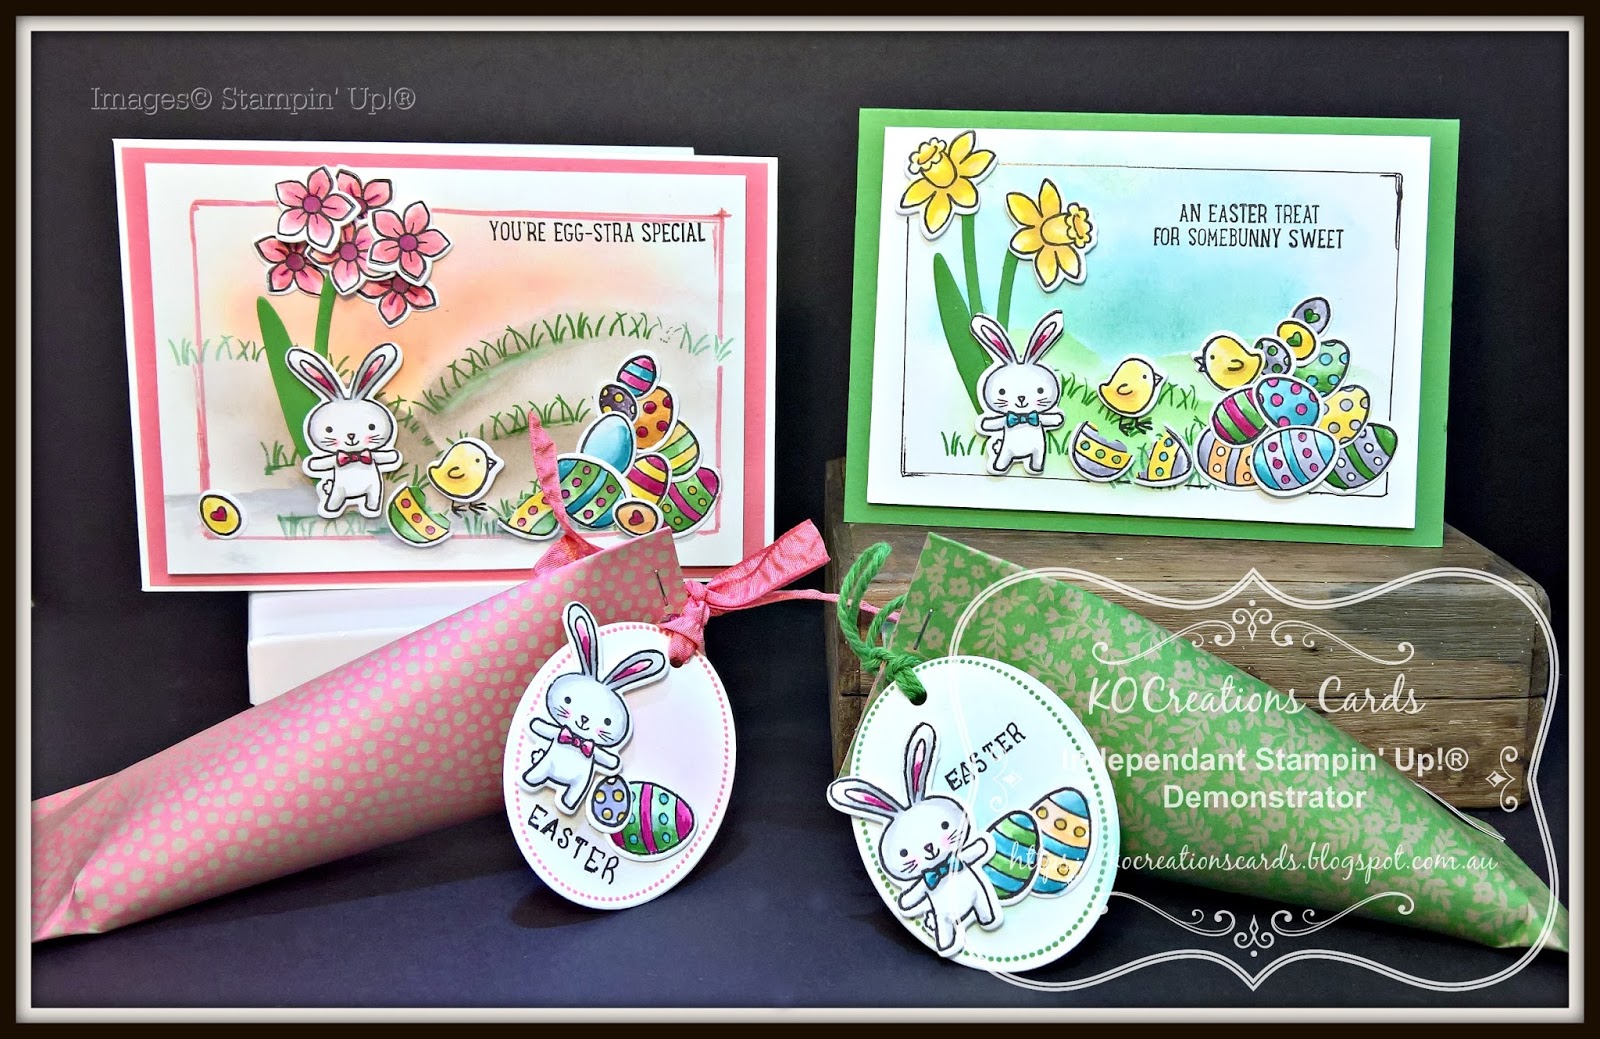
I have chosen this card of Billies  to CASE.


Here is my card. I apologise for the light quality...The photo's were taken after dark, so the light is a bit harsh, very sorry.

For You


#Touchesoftexture #Bloomsandwishes #KOCreationscards #Watercolourpencils #Imbringingrakcardsback #Giftofgiving #Bees #Inspiredbynature

I chose a similar style of layout and used the same colouring tools as Billie did for her card.
I used Touches Of Texture for the images, where as Billie used Penned and Painted for hers..
I love with the whole stamp set, but the cornflower is my go to flower in a pinch and I was so very happy to learn that this was going to be a carry over set.

You can use this set in so many ways. you can water colour with it even without painting or brushes...Just by using the two step stamps and spritzing stamping and spritzing again!
It has it's very own spritz stamp for the control freaks among us (me!) who like an even spritzed effect lol. And...a cute bee plus dragon fly!!!!

And look it even has a lace effect stamp!!

Inside View

#Touchesoftexture #Bloomsandwishes #KOCreationscards #Watercolourpencils #Imbringingrakcardsback #Giftofgiving #Bees #Inspiredbynature

For the colours I chose to use the gorgeous Water Colour pencils..
Don't they have such vibrant colour!!! And you know what, you can layer those colour on top of each other!!!
The water colour pencil layers in the flowers are 
  • Pacific Point 
  • Bermuda Bay
  • Rich Razzleberry
  • Basic Grey
  • Whisper White
The stems and leaves were coloured with
  • Old Olive and
  • Daffodil delight
And the bee's with
  • Pumkin Pie
  • Daffodil Delight and
  • Early Esspresso
  • plus Clear Wink of Stella


While I was colouring in my hubby took the children for a motor bike ride :) so I did a quick little FB Live video while I was colouring...You can see that HERE

Front View

#Touchesoftexture #Bloomsandwishes #KOCreationscards #Watercolourpencils #Imbringingrakcardsback #Giftofgiving #Bees #Inspiredbynature

The sentiment for my card is from the Blooms and Wishes Stamp set.
I added a couple of the cute little bees to help finish this card and then painted them with Clear Wink of Stella..

Thank you for stopping by my blog during this hop...Please keep moving through the hop to see even more gorgeous projects all inspired by Billie Moan unless of course I am the lucky last...In that case I hope you have enjoyed all of our creative efforts xx


If you would like a full list of the items I used to create my project then please check out the carousel below.

Don't forget to use the Hostess code for April when purchasing!
7CEYPST2 


The new catty has been released (PDF form) to us (demonstrators). 

Unfortunatley at this stage I can only show you the front of the catalogue, sorry.
But here it is
Your sneak peek of the front of the new 2017-2018 catalogue ;)


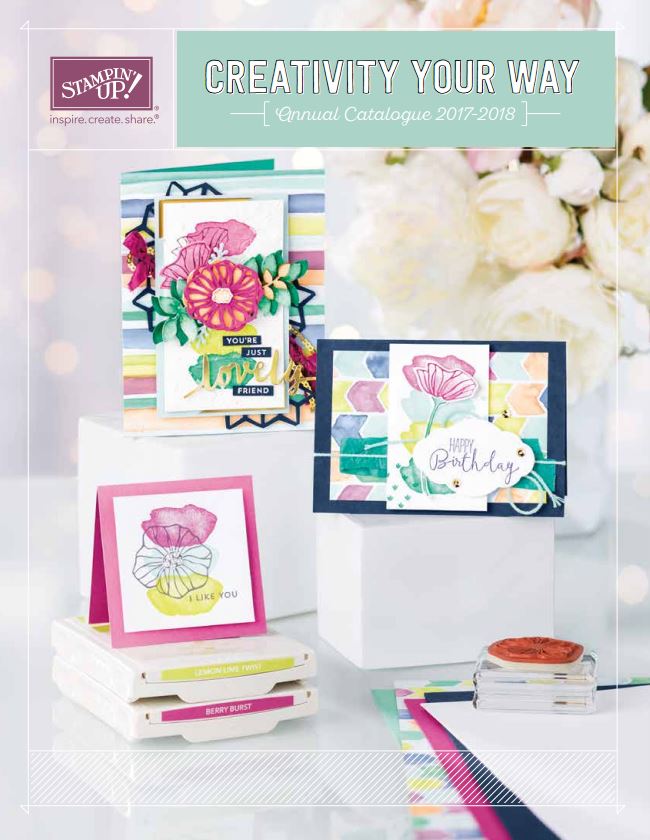
Looks pretty doesn't it :)

I can't wait for you to be able to see the goodies inside! I was just blown away by some of the new products...But I must stop or I might share something I shouldn't!
If you want to see whats inside or get your hands on some of the new products you can always join up!
If you  Join Now you can purchase the Eastern Palace suite in your starter kit straight away PLUS you get to see the new catalogue too!!!


LIVE in Australia? Join My Team!


JOIN MY TEAM


You can also purchase items from the new catalogue from the 1st of May when you join as a demonstrator.
You pay $169.00 and get $235.00 worth of products! (bundles and kits excluded)


Or just Join for the discounts and sneak peeks! lol I did :)


Lastly

If you would like to purchase anything you can find my shop here


Shop with Me

The Hostess code for April is 7CEYPST2 

If you use this code for the month of April for any purchase you will go into the draw to win the Pretty Pocket Card Kit


BUT if you place an order to the value of $50 or more you will enter the draw to win the Nailed It Bundle!!!


But remember to be entered you must use the HOSTESS CODE 7CEYPST2 when at checkout stage of your purchases.You must RESIDE IN AUSTRALIA and you MUST enter your CONTACT DETAILS.


Thank you so very much for stopping by today, I will see you all again soon xx

Thursday, 6 April 2017

Touches Of Texture and Suite Sentiments


Welcome back crafty people :)

I have a quick blog post today...well I will try to make it quick as I haev a FB Live vid booked at 3.30pm this afternoon lol

I thought I would share with you a fave stamp set of mine. 
Touches Of Texture (Annual Catty 143251 pg 141)
It is such a versatile set and paired with Suite Sentiment (Occassions Catty 142971 pg 54) it can be used for ANY occassion!

This is what I made a couple of days ago in between loads of other jobs and crafty bits. 

I got the idea when creating another set of  cards sunday ready for R.A.K,  they were also entered into #GDP081. Click HERE to view that post and the cards.
It's funny how one idea can lead to another at times.

Everyone Needs a Friend  Like You

Front View


#Touchesoftexture #Suitesentiments #KOCreationscards #Handmade #Cardmaking #Giftofgiving #splashofcolour
These cards are so quick and simple to make..
To start all I did was use the corn flower stamp and repeatedley stamped on a half A4 sheet of Thick whisper white.
I then cut this in to a square shape. I chose one flower and coloured that flower only. 
In the picture above, left card is Melon Mambo right is Pumpkin Pie.
I cut that square in to 4 little squares and backed them onto black card stock leaving only a 4 mm edge between the squares. I then trimmed them.
For the back ground I used the same colour as the flower and stamped the splatter from Touches of Texture.
Whe the card front stamping was completed I popped the squares up on dimensionals and stuck the to the card front.

Inside View


#Touchesoftexture #Suitesentiments #KOCreationscards #Handmade #Cardmaking #Giftofgiving #splashofcolour

The card stock is Thick Whisper White and basic black.
To finish the cards and add a touch og bling I added some black sequins from the metallics sequin assortment.
For the inside of the card I used the splatter inside and then stamped the corn flower over the top.


Thanks for popping in.
 I hope that these simple cards inspired you to try them for your self.

If you are looking to purhcase any of the items I used then I have listed them in the carousel below for your convenience.

The Hostess code for April is 7CEYPST2 


Just a little bit of information for you.


I have just started a monthly newsletter. 


If you would like to be updated on special deals, hostess codes and even tutorials then.


If you live in Australia and are thinking of joining Stampin' Up!
Then I would be honoured to have you as part of my team, please click the picture below to join.
Earn money doing what you love! 


LIVE in Australia? Join My Team!


If you would like to purchase anything you can find my shop here

Shop with Me

The Hostess code for April is 7CEYPST2 

If you use this code for the month of Aril for any purchase you will go into the draw to win the Pretty Pocket Card Kit


BUT if you place an order to the value of $50 or more you will enter the draw to win the Nailed It Bundle!!!


But remember to be entered you must use the HOSTESS CODE 7CEYPST2 when at checkout stage of your purchases.You must RESIDE IN AUSTRALIA and you MUST enter your CONTACT DETAILS.


Wednesday, 5 April 2017

Easter Cards and Gift Cartons for the kids - Basket Bunch


Welcome once again Crafters

I am continuing on from yesterdays post about Some Bunny Sweet card using the Basket Bunch bundle.
I created a matching card and gift carton yesterday as a request for another site I am on. This idea had been floating around for a day or two for my children for Easter gifts.
Well I got to it and created their gifts this afternoon
 Here they Both are.
They are going to LOVE them :)

You're Egg-stra Special and Some Bunny Sweet

#Basketbunch #Thatsthetag #Eastertreats #KOCreationscards #Madewithlove #Giftofgiving #Chocolatesinabag #Giftbagofgoodies #Easterfun


I have 3 children 24, 8 and 6.
The two youngest are boy and girl respectively. They both love my cards and gift and to make them feel a bit special I made these for them both.
If you click HERE you can see the original post and a picture of my children.. 


Inside View

#Basketbunch #Thatsthetag #Eastertreats #KOCreationscards #Madewithlove #Giftofgiving #Chocolatesinabag #Giftbagofgoodies #Easterfun


You can see all the colours that I used beside this open card picture above.
For the cartons I first made a cylinder, glueing and fast fusing the edges inside so they were facing each other. I then pinched one end shut and fastened with tear and tape and a spot of multi purpose glue (Tombow). I then filled the cylinderswith cadbury caramel  eggs and closed. 
Attaching tags to the tops to finish. 
To create the tags, I used the That's the Tag bundle.


water coloured Images

#Basketbunch #Thatsthetag #Eastertreats #KOCreationscards #Madewithlove #Giftofgiving #Chocolatesinabag #Giftbagofgoodies #Easterfun

I made a quick FB live video while I was creating these water colour images for the cards. 
You can click HERE to view the video and see some of the water colouring being done.

I stamped them all first on a thick whisper white A4 sheet. Then coloured and die cut them. The ones I didn't use I put inside a ziplock bag and placed inside the stamp case for later use.

Sponged backgrounds

#Basketbunch #Thatsthetag #Eastertreats #KOCreationscards #Madewithlove #Giftofgiving #Chocolatesinabag #Giftbagofgoodies #Easterfun


I sponged the backgrounds and then mounted them onto the bases using dimensionals.

If you would like to purchase any of the items I used to create these then I ahev listed them all in the carousel below for your convenience.


Just a little bit of information for you.


I have just started a monthly newsletter. 


If you would like to be updated on special deals, hostess codes and even tutorials then.


If you live in Australia and are thinking of joining Stampin' Up!
Then I would be honoured to have you as part of my team, please click the picture below to join.
Earn money doing what you love! 


LIVE in Australia? Join My Team!


If you would like to purchase anything you can find my shop here

Shop with Me

The Hostess code for April is 7CEYPST2 

If you use this code for the month of Aril for any purchase you will go into the draw to win the Pretty Pocket Card Kit


BUT if you place an order to the value of $50 or more you will enter the draw to win the Nailed It Bundle!!!


But remember to be entered you must use the HOSTESS CODE 7CEYPST2 when at checkout stage of your purchases.You must RESIDE IN AUSTRALIA and you MUST enter your CONTACT DETAILS.


Thank you so very much for stopping by today. If you have any questions please ask in comments below.
I always reply.

Tuesday, 4 April 2017

Somebunny Sweet - Basket Bunch

Welcome back crafter's

Well it's nearly Easter here in Tassie. 

#Basketbunch #Thatsthetag #Eastertreats #KOCreationscards #Madewithlove #Giftofgiving #Chocolatesinabag #Giftbagofgoodies

For me, that means I will have my children home for around 2 weeks...So my  blog posts will drop off just a little bit...I am trying so very hard to get in front for you though and schedule a couple in advance.
This well enable me to spend some quality time with the kidlets and keep some posts happening for you all too... so, fingers crossed.

 Heres a selfie my two took on my phone of themselves lol
They thought they had deleted it hahaha KIDS!


My kidlets are boy 8 and girl 6, I also have a 24yr old but he is no longer of the age where easter bunny is very important in his life lol

I am part of a little selling group, and was asked to create an easter theme product to sell on the weekend. 
I used this opportunity to practice creating something I had in mind for the kids for Easter Morning. 
They love receiving lovely hand made treats from Mum and Dad. 
So I used the request as my trial run for what I had in mind for them both...It really came together so well.

I was a little stumped as to what to put on the card front to start with, the whole gorgeous stamp set from Basket Bunch wanted to jump on there lol. 
But, I was saved!
 I saw a gorgeous card made by Paula Dobson.
She made a gorgeous pile of eggs and lightly sponged her background. So I CASEd Paula and this is what I came up with.
Thank you Paula xx

An Easter Treat For Somebunny Sweet

 Front View

#Basketbunch #Thatsthetag #Eastertreats #KOCreationscards #Madewithlove #Giftofgiving #Chocolatesinabag #Giftbagofgoodies

The card base is Cucumber Crush which is a soon to be retired colour :( 
I sponged onto Thick Whisper white using torn paper as a mask to create hills in the background. Other colours used for sponging and colouring were Crushed Curry, Tempting Turquoise, Peekaboo Peach, Perfect Plum and Melon Mambo.
I stamped all of the images onto a sheet of whsiper white, then coloured them all. Once completely dry I die cut them using the matching framelits.

I created a carton style gift bag using the Affectionately Yours DSP in Cucumber Crush. I filled it with chocolate eggs, just like the ones you see laying around the base of the card, before sealing the top closed. 
I used the That's the Tag bundle for the base of the tag and stamped in Cucumber Crush ink the dots around the edge. 
I actually hand printed EASTER along the bottom. I tied the tag on with Cucumber Crush Thick Bakers twine.

Inside View

#Basketbunch #Thatsthetag #Eastertreats #KOCreationscards #Madewithlove #Giftofgiving #Chocolatesinabag #Giftbagofgoodies


I am over the moon with how this turned out. 
I know my children will love these too and especially the choccies lol. 
So, I am off to create 2 more of these for my lovely little children.

If you would like to purchase any of the items I used to create this set, I have added them all to the Carousel below for your convenience.


Just a little bit of information for you.


I have just started a monthly newsletter. 


If you would like to be updated on special deals, hostess codes and even tutorials then.


If you live in Australia and are thinking of joining Stampin' Up!
Then I would be honoured to have you as part of my team, please click the picture below to join.
Earn money doing what you love! 


LIVE in Australia? Join My Team!


If you would like to purchase anything you can find my shop here

Shop with Me

The Hostess code for April is 7CEYPST2 

If you use this code for the month of Aril for any purchase you will go into the draw to win the Pretty Pocket Card Kit


BUT if you place an order to the value of $50 or more you will enter the draw to win the Nailed It Bundle!!!


But remember to be entered you must use the HOSTESS CODE 7CEYPST2 when at checkout stage of your purchases.You must RESIDE IN AUSTRALIA and you MUST enter your CONTACT DETAILS.


Thank you so very much for stopping by today. If you have any questions please ask in comments below.
I always reply.


Monday, 14 November 2016

A Day All About You - GDP061 - Stitched Framelits

Welcome

Today I am going to be sharing with you a card designed using my Stitched Shapes Framelits teamed with my Layering Circle Framelits to create a stitched frame effect.
I have entered this card into the Global Design Projects colour challenge for this week #GDP061 
I have also entered this card into #CTC10


Now before I share my card I would like to let you all know that if you purchase from me this month and you use this hostess code  9Q2QQZKK 
AAAAAANNNDD 
you enter your contact details, you will go into the draw to win the Tin of Tag set pictured below!

#Tinoftags #Christmasgifts #Winthisjustforshoppingwithme #Novemberdeals


Now without further ado I will share with you my card design for this weeks #GDP061 challenge.

'A DAY ALL ABOUT YOU'

#Stitchedshapesframelits #Birthdayblossoms #GDP061 #Vellumwindow #Inspiredbynature #Madewithlove #Giftofgiving

Now as you can see, or rather can't see, the stitched detail in the photo above isn't at all visible, as it was created using Basic Black card stock. But IRL it is quite visible, and also very tactile.

So I thought I would try this, to show you a closer shot of the detail. 
Hmmm it helps a little. 
You can click on the image to make it bigger still!
#Stitchedshapesframelits #Birthdayblossoms #GDP061 #Vellumwindow #Inspiredbynature #Madewithlove #Giftofgiving


A partial view of the inside

#Stitchedshapesframelits #Birthdayblossoms #GDP061 #Vellumwindow #Inspiredbynature #Madewithlove #Giftofgiving

A quick rundown of how I made the card:
  • Materials:
1 x A4 Basic Black Card stock folded in half then cut to 10.5 cm
1 piece Sweet Sugarplum card stock cut to 10 x 14.5 cm
2 pieces of Thick White card stock cut at 9.5 x 10cm
1 x small scrap piece of Emerald Envy card stock.
1 piece of vellum cut at 9 x 9.5 cm
Clear embossing powder
Versamark Ink
Black Stazon Ink
Sweet Sugarplum Ink
Blossom Punch and the Pansy Punch
Flourish Thinlits
Glue dots
Black Bakers Twine

  • Directions:
Get the 2 3/4 inch Stitched framelit and find a circle framlelits, the one slightly smaller than the stitched Shape. 
Place the smaller Layering Circle where you would like your circle to be on you card front and run through the big shot.
Then before cutting anymore lay the white card stock under the circle and carefully mark it. 1 piece at a time, so that you know where to place your stamps. Place your card in your misti and stamp the selected image on both cards. 
REMEMBER you are only cutting the circle from one piece of the white card stock! The other piece is your inside image!
Using the same framelit cut out your circle accordingly. This leaves you with a small part of the image left on the front of your card.
To make a couple of frames for your cutout shapes both inside and out, you will need to start by first cutting your circles with the stitched Shapes framelit in your chosen colours. Then placing the smaller Layering Circle over the cut out shape, 'NOT THE NEGATIVE IMAGE'  hold in place with a piece if tape and re-cut. This will give you your stitched frame edge. Glue in place as desired.

  • For the vellum image.
Again position your vellum under the front cut out shape and gently mark with a pencil.
Using your embossing buddy dust the vellum sheet. Stamp your selected image by placing your stamp in Versamark then the Stazon. Dust with clear embossing powder, tap of excess then heat with heat tool.
Colour your image from the underside of the vellum, adding accents and highlights to the front of the image.


an open view of the inside.


#Stitchedshapesframelits #Birthdayblossoms #GDP061 #Vellumwindow #Inspiredbynature #Madewithlove #Giftofgiving


Don't forget for the month of NOVEMBER only these Stitched Shapes Framelits are available ahead of the catalogue release. You get 3 shapes in 4 sizes! Oval, Circle and Square.
You can also purchase selected matching stamp sets for 25% off! Just click the picture below to shop with me now! or click HERE


Thank you for checking out my blog today.
If you like anything you see and would like to purchase anything to help you create your own version I have made a list for your convenience using the carousal below.


If you have any questions, please don't hesitate to ask in comments below. 
I always reply!